


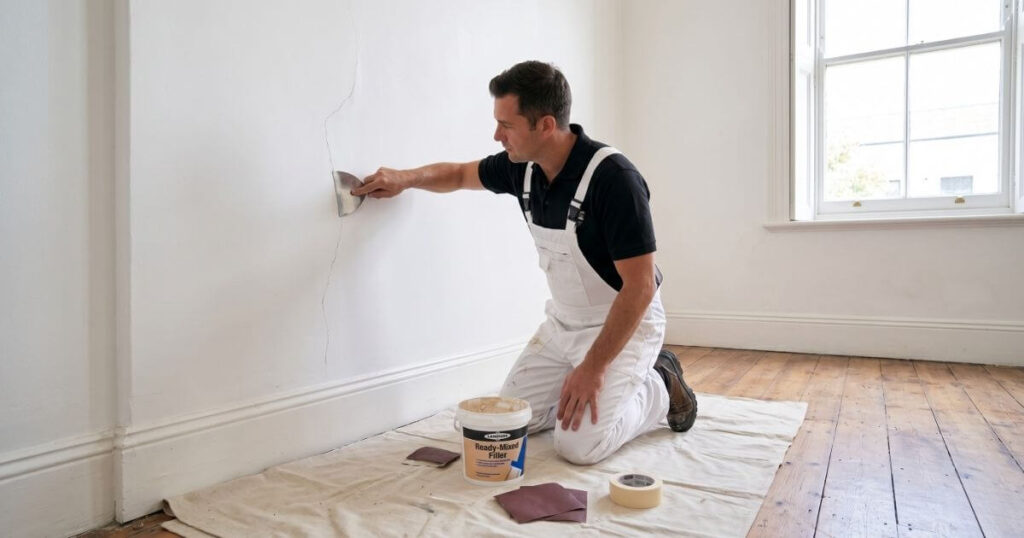
A beautiful paint job is not just about the paint – it is about the 80% of the work that happens before a single drop of topcoat touches the wall. Walk into any home in the Southern Suburbs or City Bowl where the paintwork looks fresh, clean, and professional, and you can be confident that the preparation was done correctly.
Skipping or rushing wall preparation is the most common reason paint jobs fail. Cracks reappear, paint peels, patches show through, and the overall result looks amateurish within months. This guide walks you through every step of proper wall preparation so your next paint job – whether DIY or professionally done by the Handyman Homes painting team – gives you the result you are after.
Key Takeaways
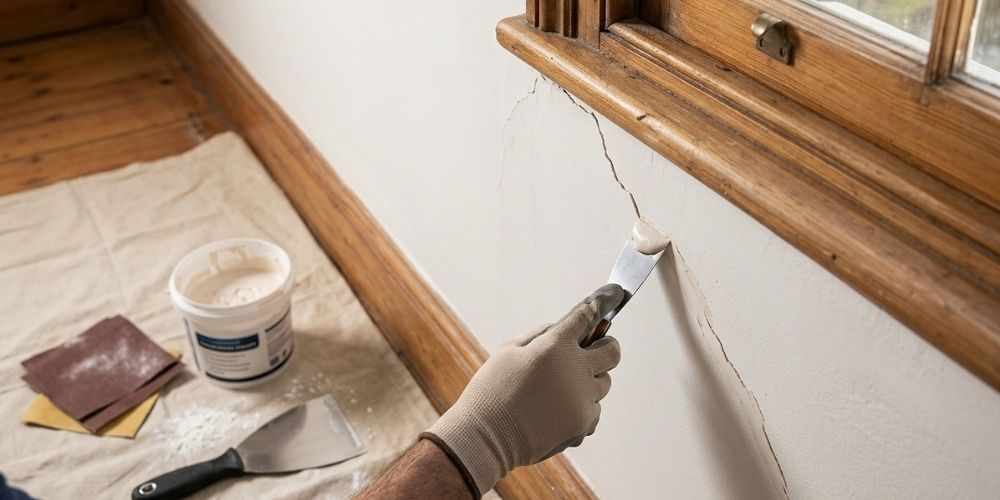
Before you reach for filler or sandpaper, do a thorough inspection of every wall you plan to paint. Work systematically from ceiling to skirting board in good light.
Never paint over active damp. Find and fix the source first, treat any mould with an appropriate fungicide solution, allow to dry fully, and then prime with a damp-seal product before topcoating. Your plumber should investigate if the damp appears to be coming from a leaking pipe or fitting behind the wall.
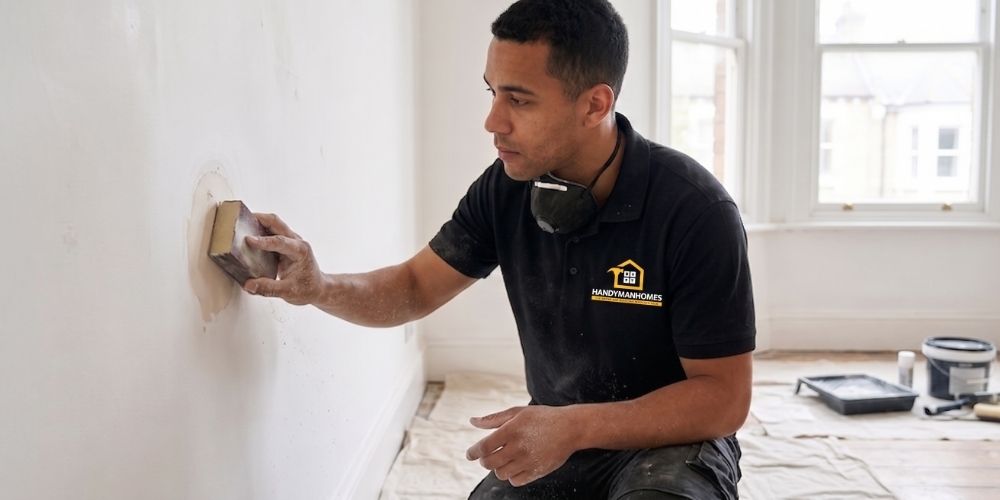
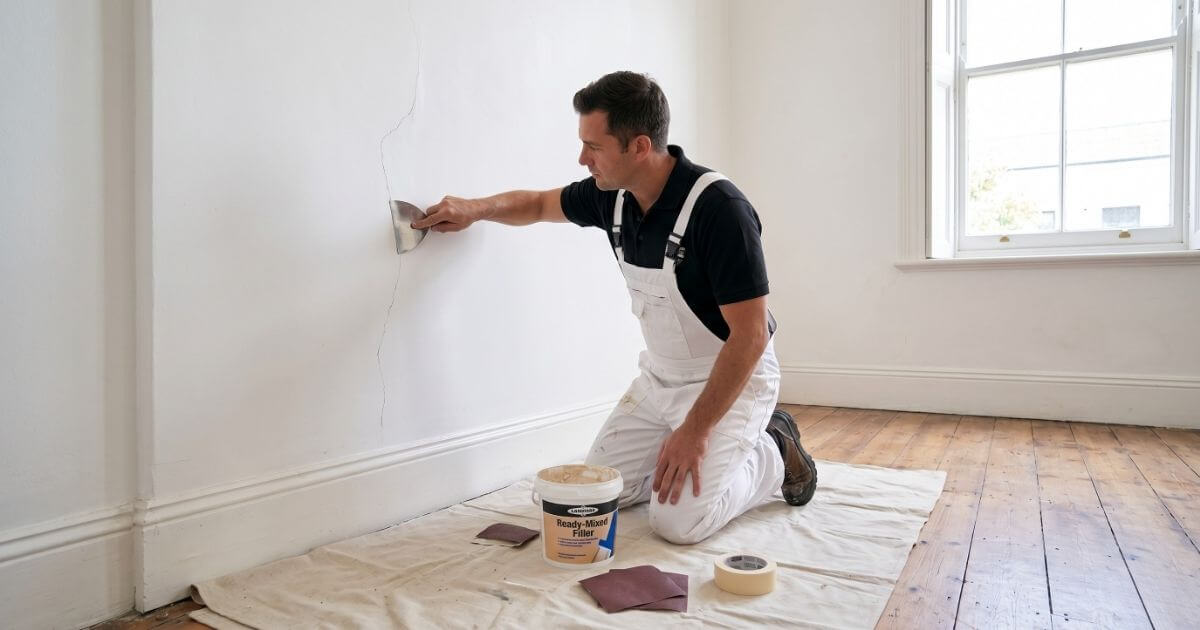
Use a flexible ready-mixed interior filler. Work it into the crack with a filling knife, slightly overfilling. Allow to dry completely, then sand flush with the surrounding wall using 120-grit sandpaper followed by 180-grit for a smooth finish.
For cracks wider than 2mm, open the crack slightly with a scraper to remove any loose material, then apply filler in layers – no more than 6mm depth per layer. Allow each layer to dry before applying the next. Sand flush when fully dry.
Fill with a small amount of filler using your finger or a narrow knife, leaving it slightly proud. Sand smooth when dry. These tiny patches are often missed but show up clearly under fresh paint. If you have a large number of holes from previous picture hooks or shelving, a handyman visit ahead of the painters can knock out all the patching in one efficient session.
Many homes in the Gardens, Tamboerskloof, Oranjezicht, and Woodstock areas have original lime plaster walls. These are softer and more flexible than modern cement plaster, and standard ready-mixed filler may crack over time in these applications. Lime-based filler or a flexible exterior-grade filler is a better match. The Handyman Homes interior painting team is experienced with the specific needs of older Cape Town plaster and will specify the correct products for your walls.
Even walls that look clean need washing before painting. Dust, skin oils, and airborne grease – particularly in kitchens – prevent proper paint adhesion.
Lightly sand all filled patches and any areas of flaking paint. For previously glossy walls being repainted, sand the entire surface with 120-grit paper to break the sheen and give the new paint a key. Wipe down with a slightly damp cloth to remove all sanding dust before priming.
Primer is not optional – it is the bond between the wall and your topcoat. Use the correct primer for your substrate:
Apply masking tape to all skirtings, cornices, window frames, door frames, and any fixtures you are not painting. Use good quality masking tape – cheap tape leaks paint and tears. Remove tape while the paint is still slightly tacky for the cleanest edge.
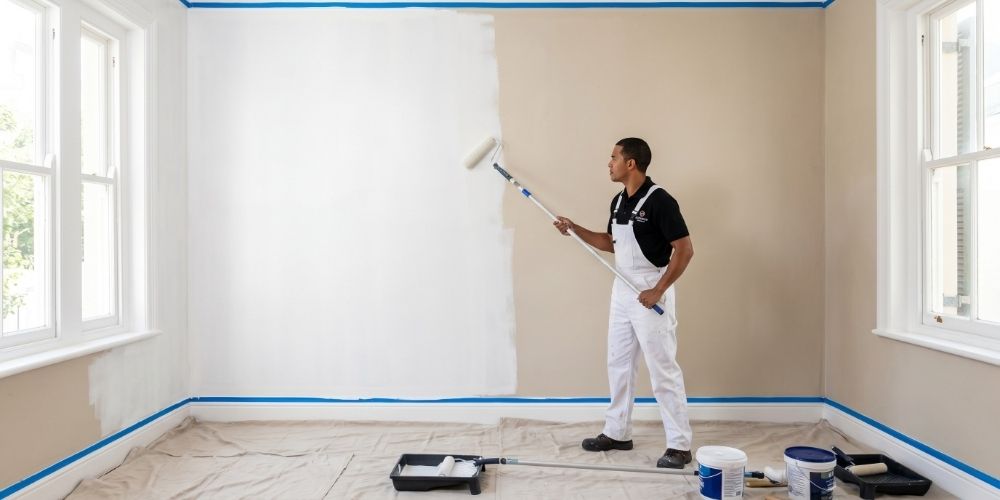
If the thought of all this preparation puts you off, you are not alone. Professional preparation is one of the main reasons that Handyman Homes interior painting services deliver results that last and look genuinely professional.
The Handyman Homes painting team never skips the prep phase. Every project includes a full assessment, all necessary filling and sanding, the correct primer for your specific walls, and professional masking before a single drop of topcoat is applied. For exterior walls, the same prep-first approach applies – read more about the full process on the Handyman Homes painting contractors page.
Contact Handyman Homes for a free painting quote. We serve all Cape Town suburbs from Sea Point and the City Bowl to Claremont and Rondebosch.
Wall preparation is the single most important factor in how long a paint job lasts. Paint applied over cracked, dirty, or poorly patched surfaces will fail quickly – peeling, cracking, or showing imperfections through the finish. Proper prep ensures adhesion, a smooth finish, and a result that lasts years rather than months.
For hairline cracks, a ready-mixed interior filler or fine surface filler works well. For larger cracks or movement cracks, use a flexible filler or polyurethane sealant. In Cape Town’s older homes, lime-based fillers are sometimes the better match for lime plaster walls. Always sand flush after filling.
Yes – primer is essential, especially on new plaster, repaired surfaces, over dark colours, or on stained walls. Alkali-resistant primer is required on fresh cement plaster. Handyman Homes always uses the correct primer for the substrate, which is one reason our paint jobs last.
Ready-mixed filler typically takes 2 to 4 hours to dry fully before sanding and priming, depending on the depth of the patch and Cape Town’s humidity levels. Larger patches using two-part or powder fillers need longer – always check the manufacturer’s instructions. Prime the repaired area before topcoating.
No. Gloss paint needs to be sanded or deglossed before painting over it. Paint applied directly to a glossy surface will not adhere properly and will peel. Sand the surface with 120-grit sandpaper until the sheen is dulled across the entire area, then wipe clean and prime before applying the new paint.
Yes. Proper wall preparation is always included in a Handyman Homes painting project. Filling, sanding, priming, and masking are all part of the standard process. This is why Handyman Homes paint jobs look better and last longer than a rushed DIY result. Get a free quote on the interior painting page.






2026 Copyright © Handyman Homes . All rights reserved. Created by Cooper Creative.